Weighing
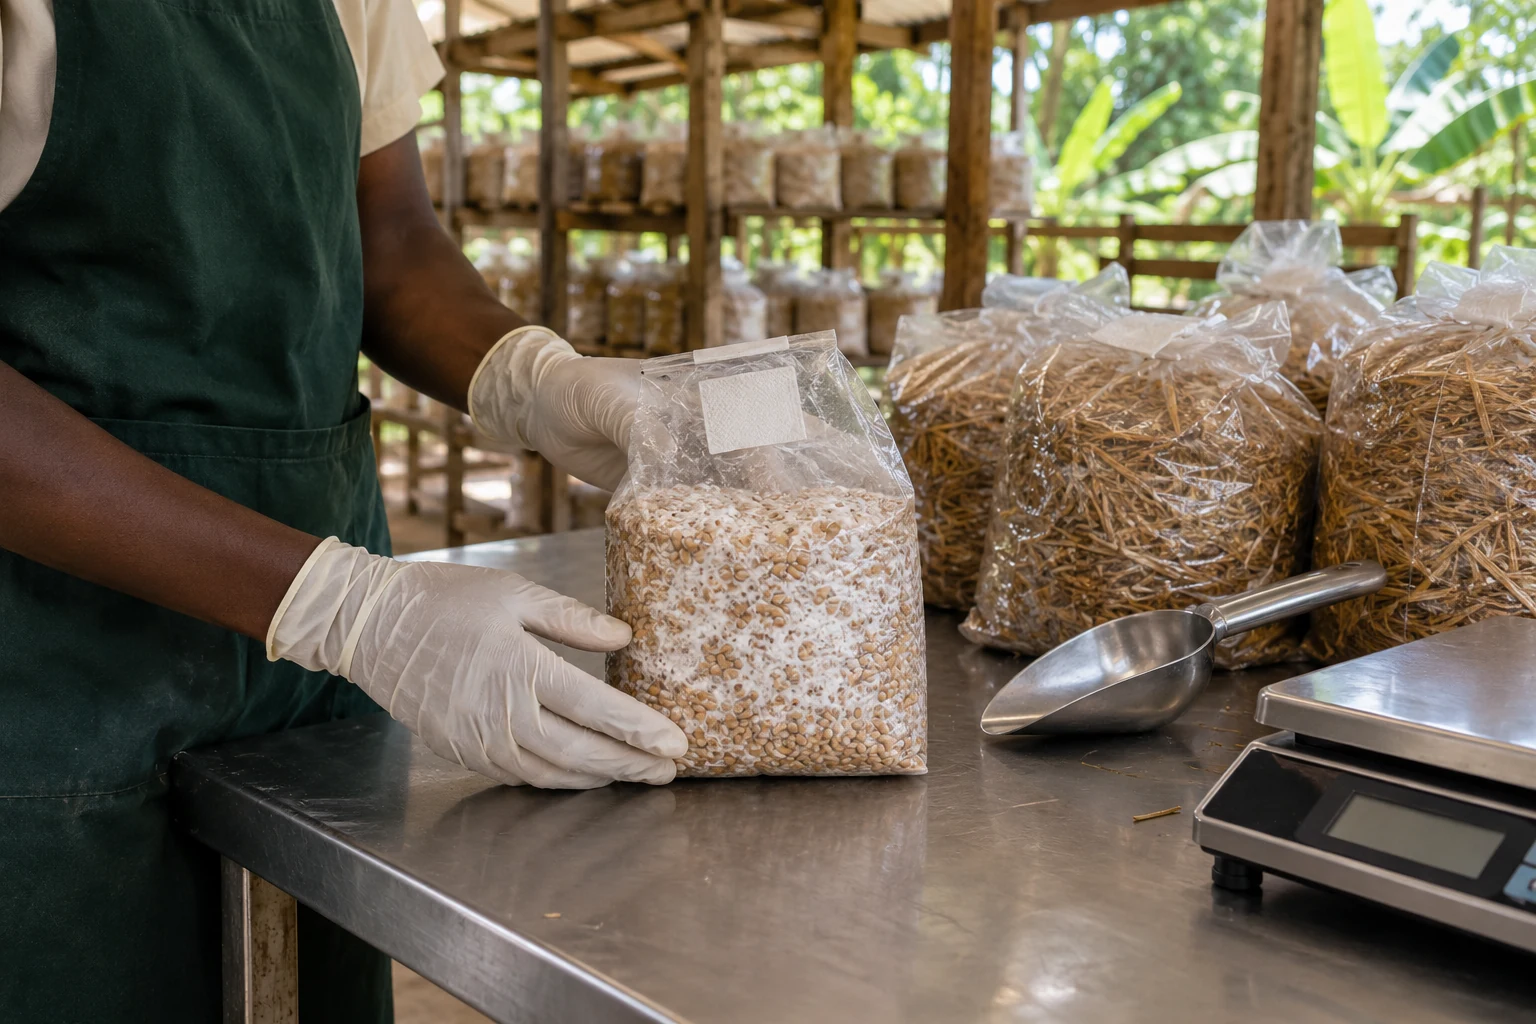
Separate dry-ingredient and wet-batch measurements, with a scale suitable for both the load and spawn quantity.
An eight-step starting workflow for oyster mushroom trials using locally available agricultural residues.
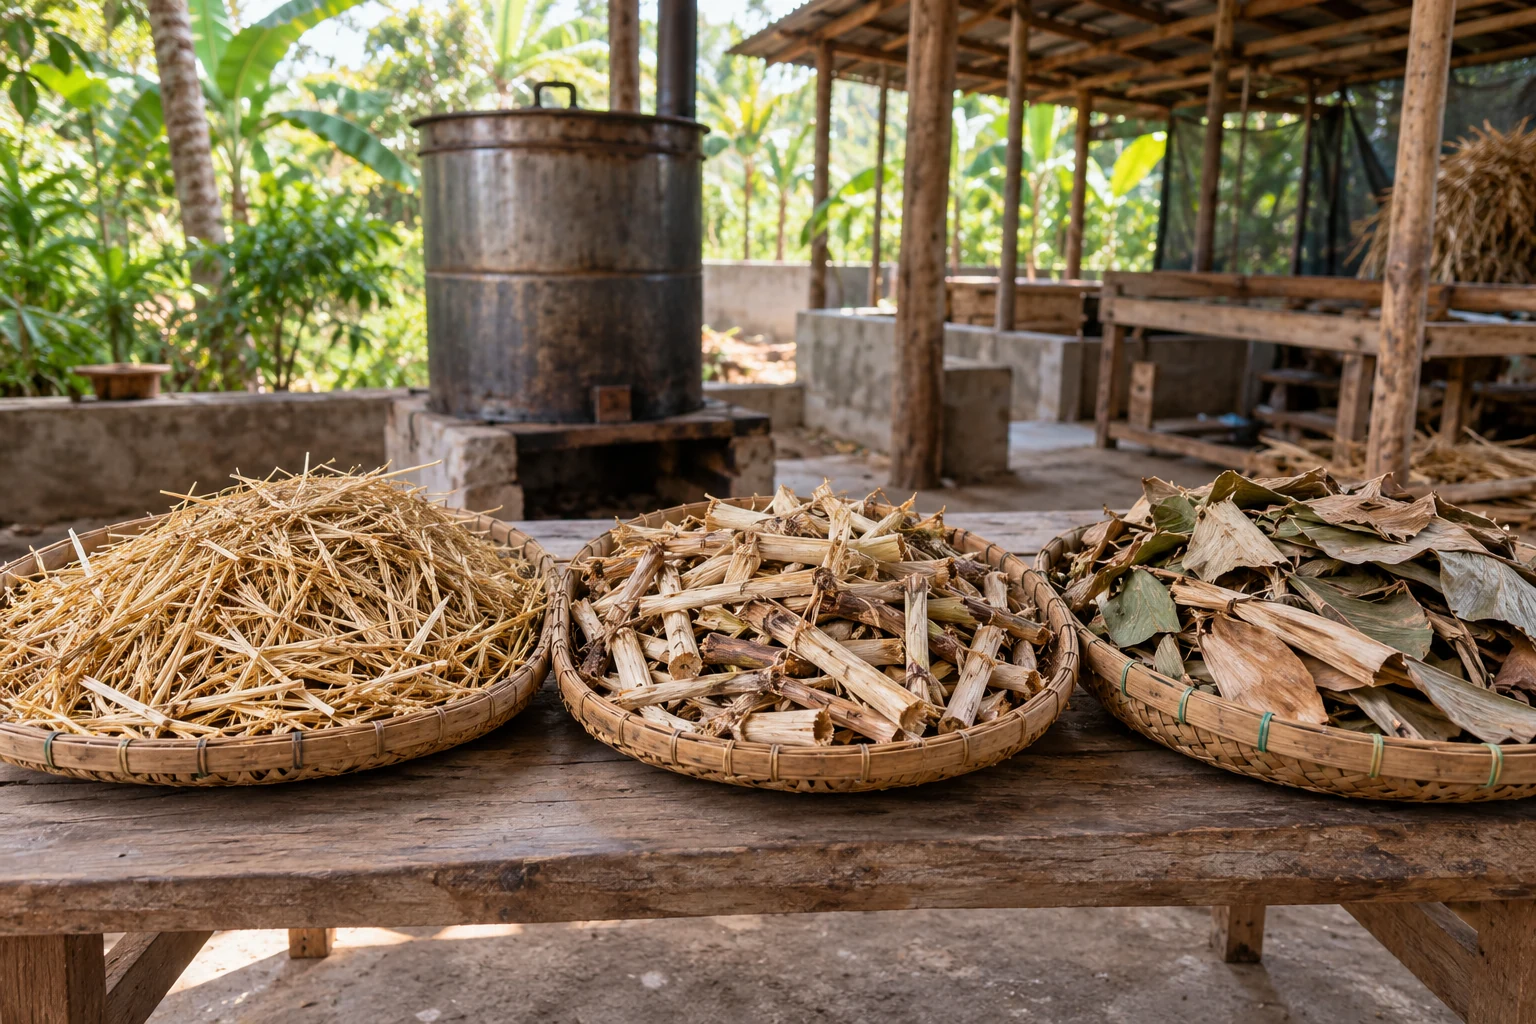
Choose clean, dry residues with known origins. Exclude mouldy material, painted or treated wood, chemical contamination and mixed rubbish. Keep a simpler straw-based comparison batch when testing blends.
Chop into manageable, uniform pieces. Record recipe weights on a dry-matter basis where possible. Avoid excessive fines that compact substrate and restrict air movement.
Use clean water and allow uniform hydration. Drain well: substrate should be moist without standing water. A squeeze test is a rough screening tool, not a calibrated moisture measurement.
Use a validated hot-water or steam protocol matched to substrate, container and loading pattern. Pasteurisation and sterilisation differ; a vented drum is not a pressure steriliser. Nutrient-rich supplements need careful process validation.
Monitor representative cold points inside loaded substrate. Start holding time only after the required temperature is reached throughout. Log temperature, time and load size. The project documents give differing schedules; do not choose one solely because it is shorter.
Use a protected clean area and confirm cooling throughout to the spawn supplier’s inoculation range. Do not inoculate hot substrate. Keep treated material away from untreated residues and dirty surfaces.
Use fresh, identified spawn and clean handling. Record spawn rate and whether calculated against wet or dry substrate mass. Close with the intended breathable system; label recipe, treatment record, date and spawn lot.
Follow strain-specific conditions, space bags for heat release and inspect daily. Isolate suspect bags without opening indoors. Compare colonisation, contamination and saleable yield before adopting a recipe.
Record wet and dry inputs, spawn use, treatment temperatures, labour, rejects and each flush. Biological efficiency = fresh mushroom mass ÷ dry substrate mass × 100. Keep it separate from yield per wet bag.
Separate dry-ingredient and wet-batch measurements, with a scale suitable for both the load and spawn quantity.
Clean chopping tools, a mixing surface and drainable containers reserved for substrate work.
Equipment matched to the selected process, plus probes that can measure inside the actual loaded substrate.
Protected cooling space, clean tools, compatible bags and breathable closures.
Durable labels, recipe sheets, a timer and a batch record that travels with the load.
Heat-resistant handling equipment and a safe, unobstructed work area around heating equipment.
| Control | Record | How to use it |
|---|---|---|
| Recipe | Dry mass for each ingredient; source and recipe version. | Keep the reference batch and test batch identifiable from preparation to harvest. |
| Hydration | Drainage method and measurements or consistent screening observations. | Check several locations; note pooling or uneven material instead of only a single pass/fail tick. |
| Treatment | Core-temperature record, required hold and load configuration. | Use the validated procedure for this material and load; record departures before release. |
| Cooling | Core reading and time of release to inoculation. | Hold the batch until it is suitable throughout, not just cool at the surface. |
| Outcome | Rejects, flush weights, saleable harvest and work time. | Compare all bags started, including failures, before deciding a recipe performs better. |
Keep a familiar straw-based batch as a reference when testing another residue. Change one ingredient or proportion at a time while keeping the spawn lot, treatment, bag size and growing conditions as consistent as possible. A small batch you can inspect completely is more informative than an unrecorded large batch.
Write the dry ingredient weights and recipe version before adding water. Freshly soaked straw and dry stalks cannot be compared by their wet weights alone. Keep source, storage history and collection date with each ingredient so a later problem can be traced to the material.
Use a consistent particle size and mixing method for the chosen process. Excess fines can compact a bag while long pieces make packing uneven. Hydrate uniformly, drain and check several places in the batch; a wet pocket can be missed by a single squeeze test.
Use a process suitable for the ingredients, bag system and equipment. Check representative cold points inside the substrate rather than only measuring the steam around it. Record the loading pattern, temperatures and holding time. An unpressurised drum must remain freely vented.
Review the treatment record, drainage and cooling before inoculating. Confirm the substrate core has cooled to the spawn supplier’s range. Keep untreated material and dusty tools away from cooling substrate; adding raw dry residues afterwards defeats the controlled treatment.
Record bags started, rejects, colonisation observations, labour and each flush. Compare saleable kilograms and cost as well as the appearance of healthy bags. Retain the original recipe record when making a new version so an apparent improvement can be checked later.
During rainy periods, check residue storage and unloading routes before starting. Keep ingredients raised and protected, and avoid carrying wet outdoor containers into cooling or inoculation areas. A dry-looking top layer does not establish that the stored material beneath it is sound.
During hot, dry periods, make sure treatment and cooling have enough suitable water and protected space. Schedule work around operator capacity rather than leaving treated material waiting for an unprepared inoculation session. Record any prolonged delay so it is visible when interpreting the batch.
To calculate a 10 kg dry-material blend at 60% straw, 30% stalk and 10% leaf, multiply the total dry weight by each proportion: 6 kg straw, 3 kg stalk and 1 kg leaf. Use this calculation method with the proportions selected for your substrate and strain. Record added water separately; hydration changes the wet mass while the original dry proportions stay the same.
If the batch later produces 12 kg fresh mushrooms from 20 kg dry substrate, biological efficiency is 12 ÷ 20 × 100 = 60%. Keep this distinct from yield per wet bag and from the proportion that is saleable. Use the batch log to keep the measurements together →
| Observation | Investigate | Next action |
|---|---|---|
| Bags drip or pool water | Drainage time, excess fines and uneven hydration. | Pause preparation and review moisture before inoculation; do not add untreated material to a treated batch. |
| One recipe repeatedly develops mould | Treatment compatibility, supplements, ingredient source and handling. | Isolate suspect bags and stop scaling the recipe while investigating. |
| Bag growth is uneven | Mixing, packing weight, spawn distribution and rack position. | Compare bag records and positions; standardise the next batch. |
| The core heats unevenly | Overpacking, overloaded equipment or blocked steam paths. | Revalidate the load; an arbitrarily longer hold is not proof of treatment. |
| Every trial grows slowly | Shared spawn lot, moisture, temperature and strain suitability. | Check common inputs before changing several recipe variables. |
| Good harvest but poor saleable yield | Damaged caps, overmaturity, handling and unsold stock. | Record rejects and sales separately from total fresh harvest. |
Reviewed 10 October 2026. Follow the instructions for your actual species, strain and equipment. Worked calculations are teaching examples, not measured ICL results.
Further reading on cultivation methods, crop management and farm operations.