Crop check
The strain’s readiness guidance and a routine for checking clusters during active harvest periods.
Harvest at crop readiness and have cooling, packing and transport ready before the first cut.
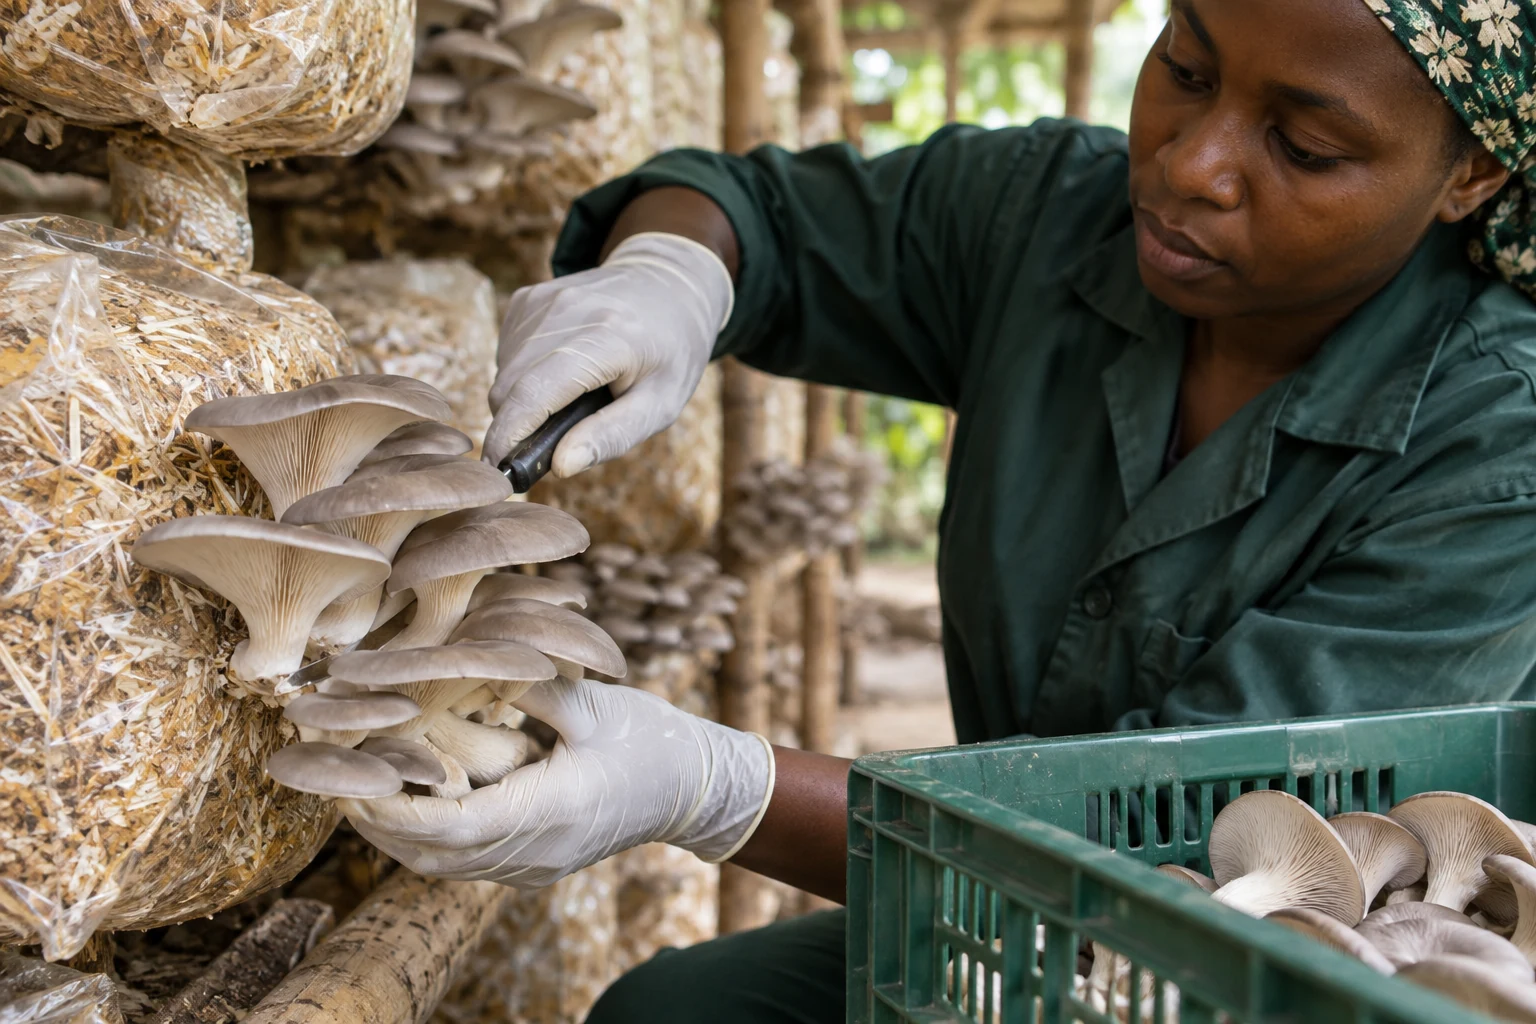
Use the supplier’s readiness criteria for fully colonised blocks. Introduce the strain’s required light, fresh air, humidity and temperature conditions. Make openings according to the bag system; excessive openings can dry the substrate.
Refrigerate promptly in breathable packaging and use while fresh. Discard mushrooms with slime, mould or deterioration. Clean just before cooking and cook thoroughly. Ask ICL about the current harvest and freshness window; a fixed shelf life requires validation of actual packaging and temperatures.
Tear into even pieces. Heat a little oil in a wide pan, cook in batches until moisture evaporates and mushrooms are cooked through, then add onion, garlic and seasoning. Serve with rice, ugali or vegetables. Avoid crowding the pan for browned edges.
The strain’s readiness guidance and a routine for checking clusters during active harvest periods.
Clean appropriate cutting or cluster-removal tools, with a place to set them down hygienically.
Food-grade crates or trays that protect delicate caps and remain separate from waste handling.
A scale, clean weighing container and separate entries for rejects and saleable product.
The buyer’s agreed packaging, labels and order list ready before harvest begins.
Available monitored cooling, suitable transport and a receiving contact for each delivery.
| Control | Record | How to use it |
|---|---|---|
| Readiness | Cap development, crop condition and expected strain form. | Record a real crop observation rather than harvesting only because a calendar says to. |
| Harvest accounting | Batch, flush, total weight and rejected weight. | Keep saleable harvest separate from all material removed from the block. |
| Packing | Net weight, batch ID, date and pack format. | Check that the label corresponds to the actual contents and destination. |
| Cooling | Product handling time and available temperature checks. | Investigate interruptions instead of assuming refrigeration was continuous. |
| Delivery | Dispatched, received, returned and sold amounts. | Link buyer feedback to the batch so production and handling can be reviewed together. |
Use the strain’s expected cap shape and development rather than a date alone. Inspect clusters before excessive edge curling or spore accumulation. Keep your own photographs of crop stages for training. Record cap development, crop condition and harvest timing for each batch.
Wash hands and prepare clean tools, crates, scales and packing surfaces. Keep these away from raw substrate and spent blocks. Set out where each harvest batch will be set down so delicate clusters do not touch the floor or an unclean worktop. Keep waste tools out of the harvest area.
Use the bag system’s appropriate cluster-removal method. Support the cluster rather than pulling individual caps. Trim adhering substrate at the base with a clean tool and avoid repeated handling. Do not press fragile mushrooms into a deep container to fit more harvest into one trip.
Separate saleable mushrooms, cosmetic rejects and suspect material. Record weights against the producing batch and flush. A large harvest can still produce little saleable food if trimming, damage or deterioration is ignored. Keep sound product protected while assessing anything questionable.
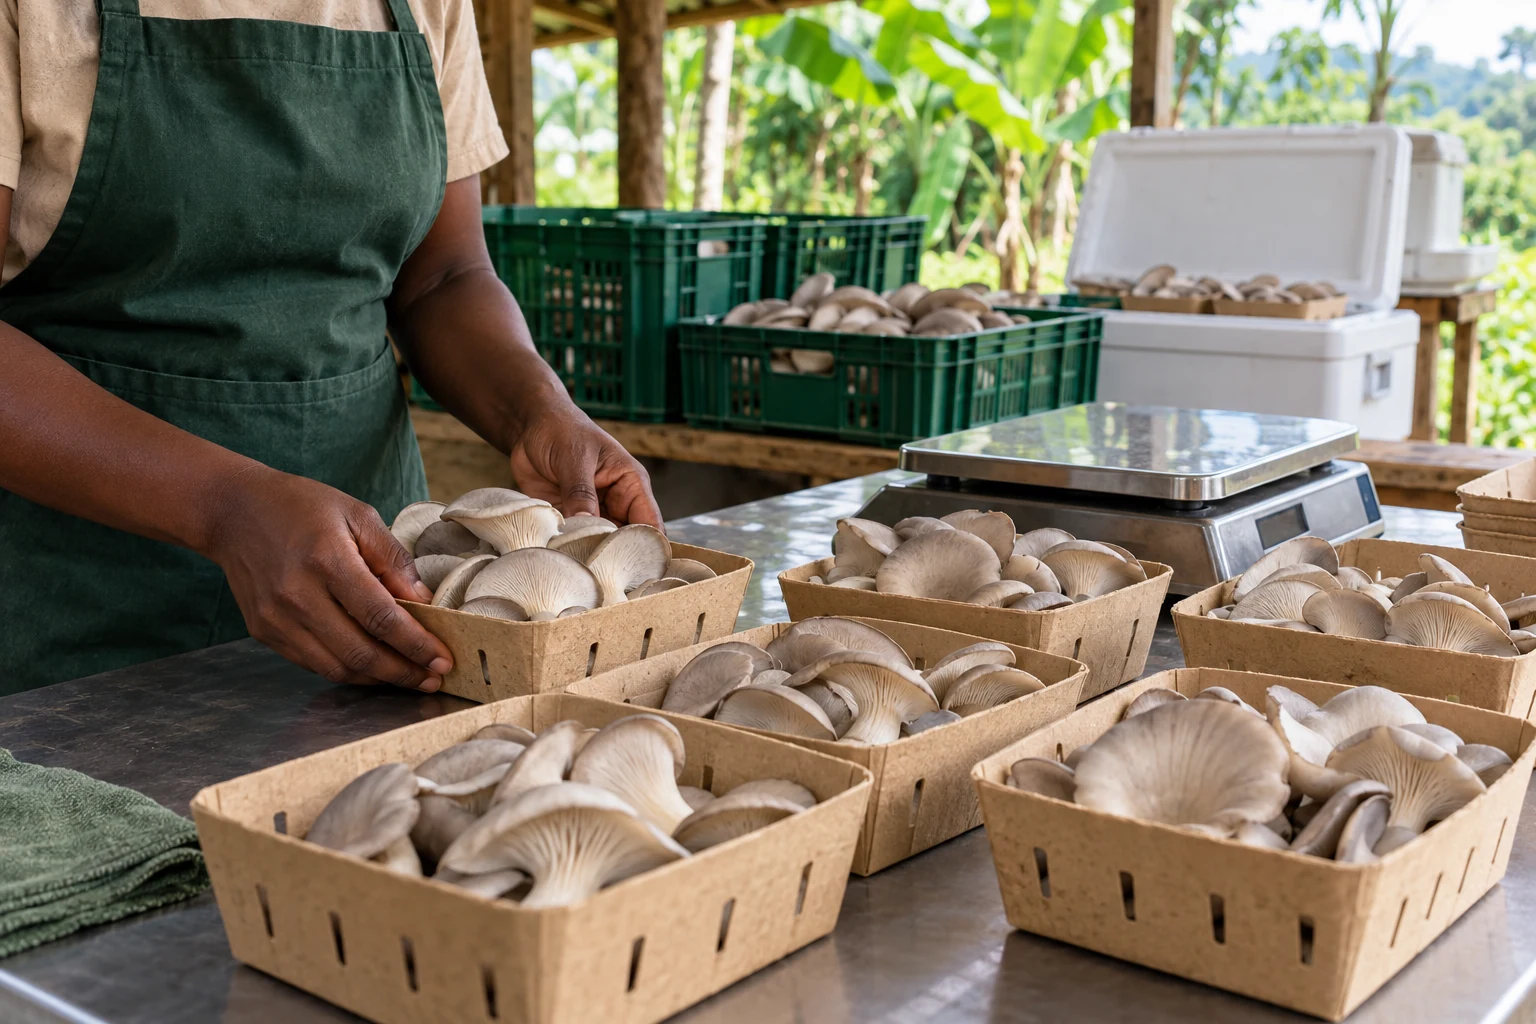
Use clean food-grade packaging that protects caps without excessive trapped condensation. Check net weight, batch identity, harvest date and the buyer’s pack specification. Avoid heavy stacks, unclean reusable crates or loose packs that move and bruise in transport.
Move the harvest promptly into monitored cooling and maintain agreed conditions through delivery. Record dispatch time, destination and temperature checks. Ask the buyer about damage, condensation and pack size. Link returns or quality complaints to the batch so the next delivery can improve.
In hot weather, confirm that cooling and transport are ready before harvesting a large quantity. Harvest in manageable lots that can move through sorting and packing promptly. Do not let a packed harvest wait in direct sun while delivery arrangements are still being made.
During humid or rainy weather, keep incoming wet crates and footwear away from packing surfaces. Pay attention to condensation when product changes temperature. Review the whole sequence from crop to buyer rather than blaming the packaging alone when moisture accumulates.
Record the flush number, date, total harvest and saleable harvest. Follow the supplier’s rest and hydration instructions for the block. Its condition, room occupancy, labour and expected extra harvest all influence whether to retain it. Do not assume every block should remain in the fruiting room indefinitely.
For a worked record, a batch producing 18 kg in its first flush and 10 kg in its second, with 2 kg rejected overall, gives 26 kg saleable harvest. These numbers illustrate accounting only. Keep unsold sound product separate from harvest rejects when reviewing demand and delivery performance.
| Observation | Investigate | Next action |
|---|---|---|
| Bruised or crushed caps | Handling frequency, container depth and stacking. | Identify where damage begins; reduce handling and pack depth. |
| Condensation inside packs | Wet caps, temperature changes and packaging ventilation. | Review cooling and packing throughout the delivery route. |
| White powder below mature clusters | Spore release and harvest timing. | Review readiness criteria and observe the crop more frequently. |
| Slime, mould or deterioration | Product condition and storage history. | Exclude affected product from sale and investigate the batch. |
| Good harvest but poor sales | Orders, pack format, dispatch timing and returns. | Reconcile harvested, packed, delivered, sold and returned weights. |
| A later flush is smaller | Block ageing, moisture, condition and economics. | Compare the extra harvest with occupancy, labour and crop risk. |
Reviewed 10 October 2026. Follow the instructions for your actual species, strain and equipment. Worked calculations are teaching examples, not measured ICL results.
Further reading on cultivation methods, crop management and farm operations.