Room layout
A measured sketch showing racks, access, water, drainage and the route from raw materials to dispatch.
Organise clean work zones, accessible racks and reliable water and climate controls around the growing cycle.
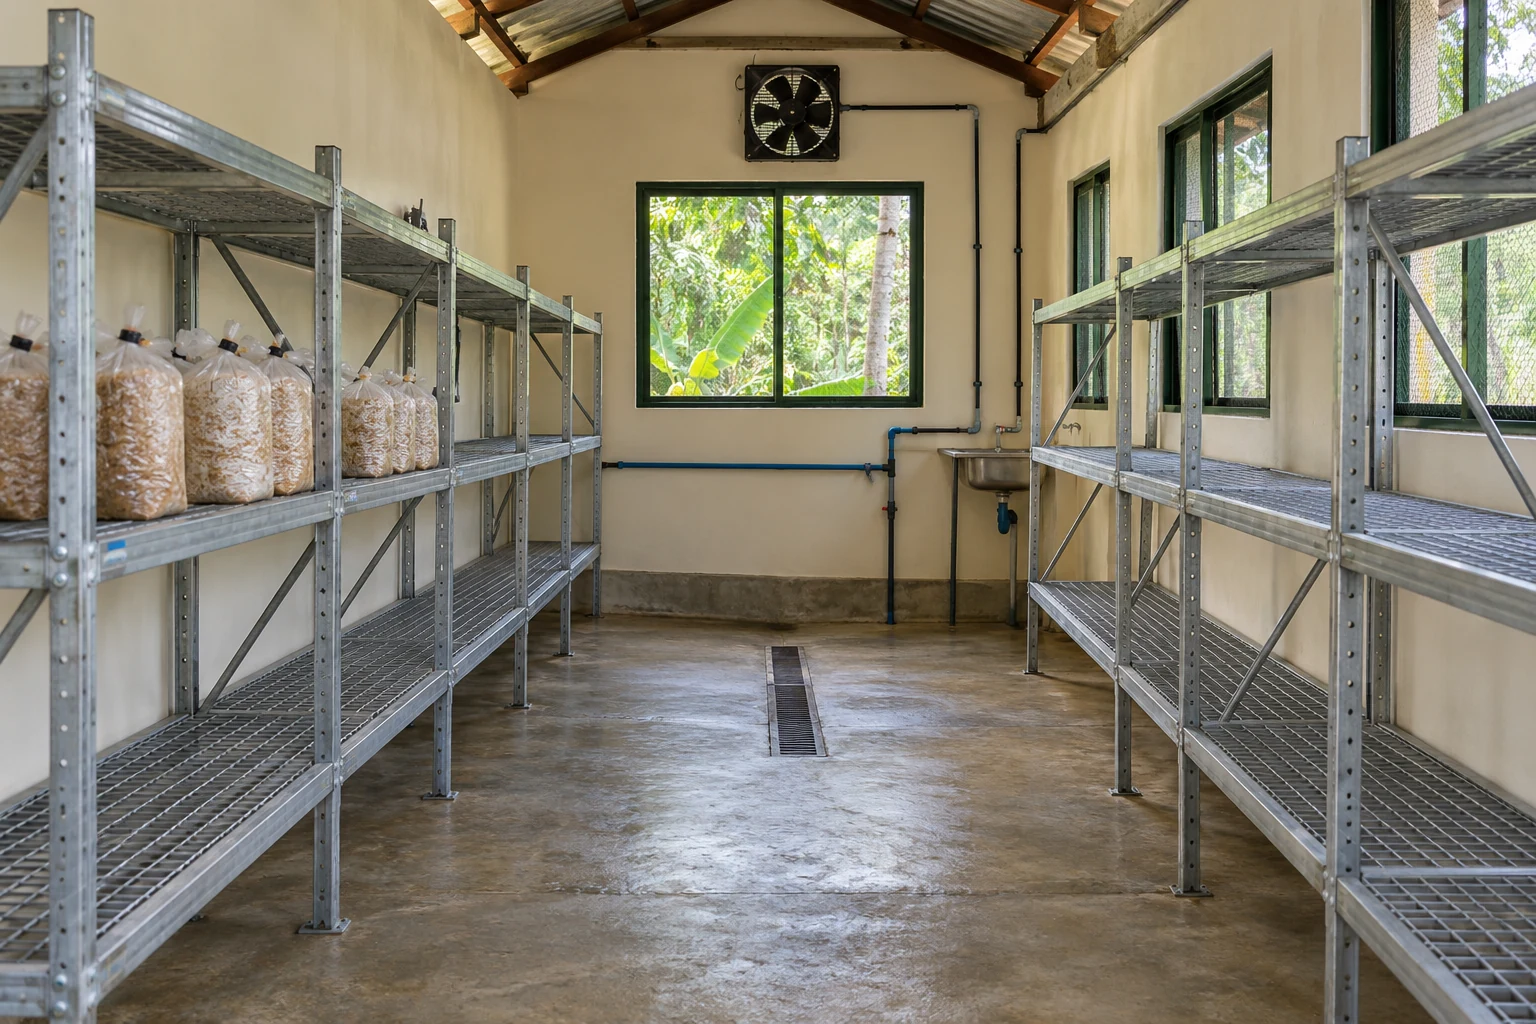
Separate the areas for dry storage and preparation, treatment, protected cooling and inoculation, incubation, fruiting, and packing. Position waste handling away from the clean route. Check clean water, drainage, reliable power and delivery transport.
Multi-tier racks make productive use of a grow room while keeping each crop accessible. Size shelves around actual wet bag weights, shelf spans, clear aisles, crop clearance and ventilation. Have a qualified local fabricator or engineer verify the loading, joints, anchoring and bracing before use.
Choose durable, cleanable surfaces suitable for humidity. Prevent treated timber or unsuitable coatings from contacting food. Leave room to inspect every bag and harvest without unstable climbing.
Daily: inspect water, sensors, drainage and crop. Between batches: remove debris, clean and disinfect according to product labels. Regularly inspect corrosion, loose fasteners, rack deformation, filters and electrical protection. Never mix bleach with acids or ammonia.
A measured sketch showing racks, access, water, drainage and the route from raw materials to dispatch.
Actual wet-bag loads and a competent assessment of shelf spans, joints, bracing and anchoring.
Sensors and probe access that remain usable after the racks are filled.
Cleanable storage, accessible filtration, serviceable mist lines and a controlled drain route.
Wet-area electrical installation and procedures for outages and equipment maintenance.
Space to remove a bag, clean a shelf and move a harvest crate without crossing waste.
| Control | Record | How to use it |
|---|---|---|
| Capacity | Bags per shelf, actual wet mass and crop clearance. | Usable room capacity includes access, air distribution and harvesting space. |
| Traffic | Who moves raw inputs, spawn, harvest and waste. | Identify crossing points and keep food and dirty equipment apart. |
| Climate distribution | Readings at upper, lower, near and far positions. | Test the room empty and loaded; retain the baseline for comparison. |
| Drainage | Where water flows under normal use and heavy rain. | Prevent standing water and outside runoff entering clean work areas. |
| Maintenance | Cleaning frequency, service access and spare parts. | Make critical components reachable without dismantling a loaded room. |
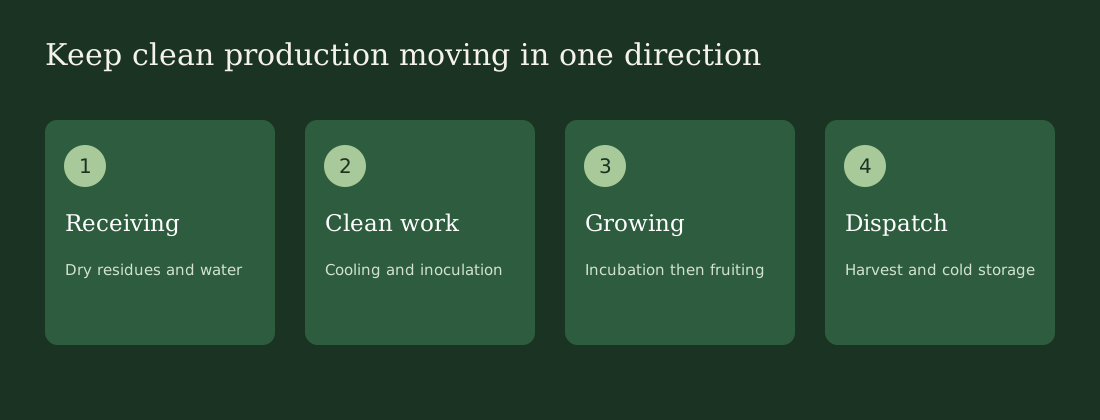
Trace a batch from unloading residues to delivering mushrooms and removing spent blocks. Mark crossings between dirty and clean work. Adjust the layout before installing fixed racks and plumbing, when changes are easier. Consider where operators wash, store tools and set down supplies.
Confirm water supply, drainage, electricity and delivery access. Inspect how runoff behaves during rain. Set up a manual response if a pump, fan or electrical supply stops. A room dependent on one powered control needs a response that someone can actually carry out.
Count wet bags per shelf and weigh representative filled bags. Include other loads, the frame and how workers access it. Obtain a structural check for the actual joints, bracing, spans and anchoring; a material list or a photograph cannot establish a safe capacity.
Keep shelves, drains, joints and nozzles accessible. Choose cleanable surfaces and appropriate corrosion protection. Place cables and fittings outside spray paths and have wet-area electrical work checked by a qualified installer. Preserve an aisle that remains usable when mushroom clusters develop.
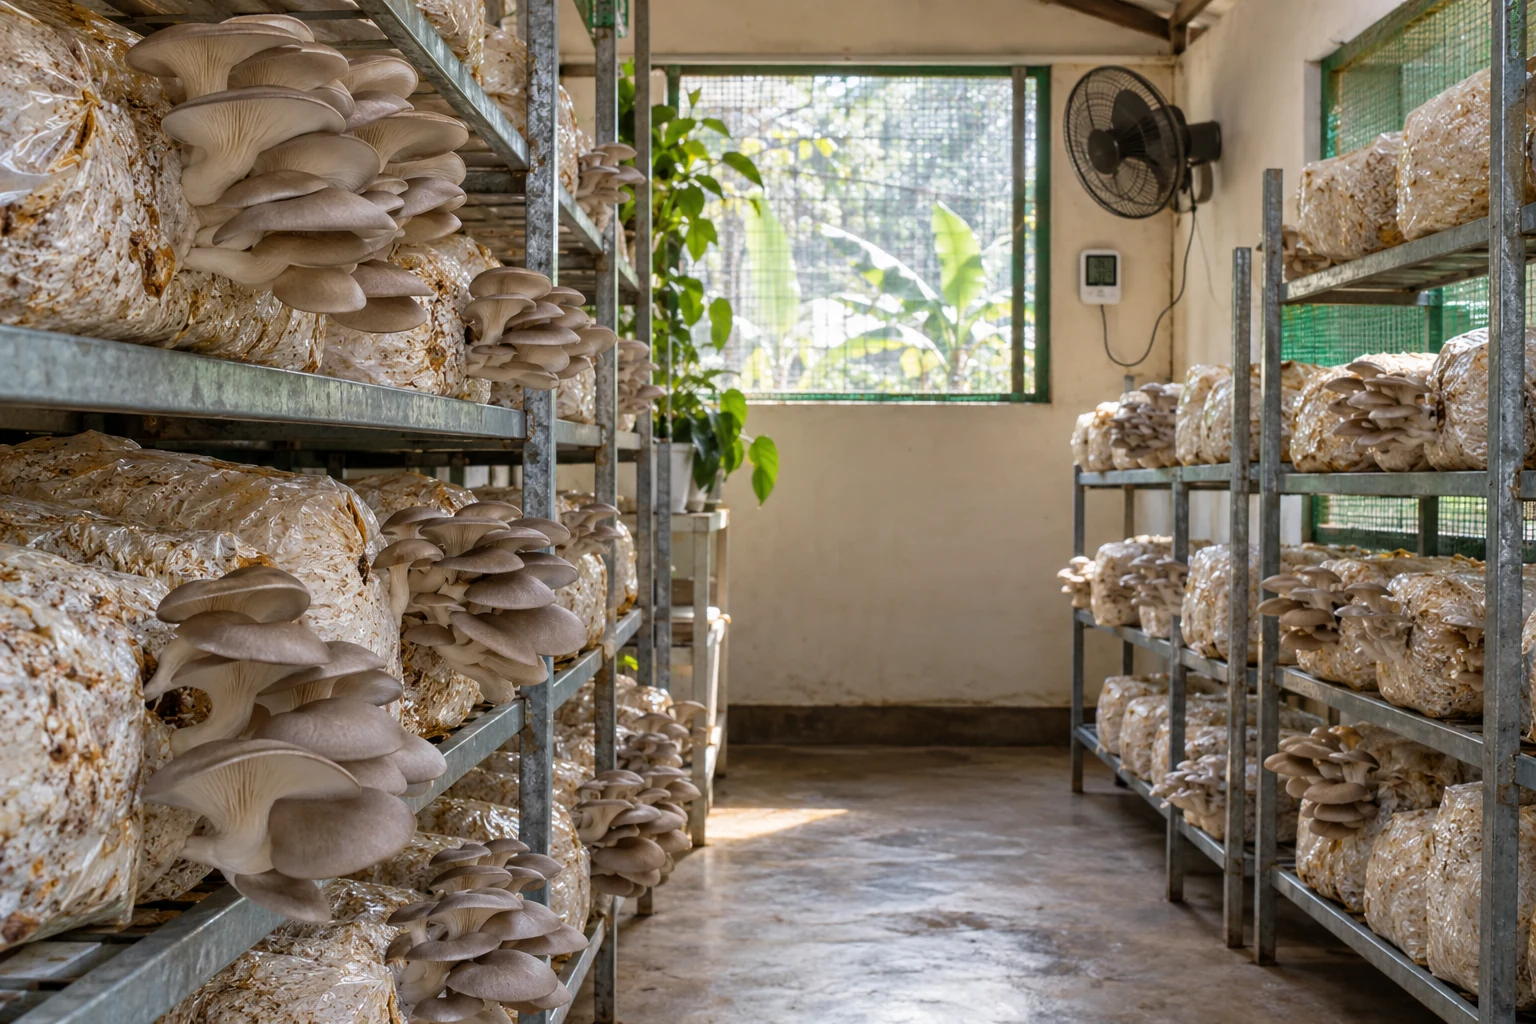
Observe hot afternoons and cooler nights. Test fan direction, screened inlets, mist coverage, leaks and drainage. Compare several rack positions. An empty-room test creates a baseline; it does not prove a densely loaded crop will experience the same temperature and airflow.
Add a limited number of labelled bags with access to every position. Log conditions, cleaning effort and inspection time. Expand after observing the racks and controls with a real crop. Treat loading changes as a new test rather than assuming all remaining space is usable capacity.
For a coastal humid site, include corrosion inspection and drainage in the maintenance routine. Keep roof and wall leaks visible and repairable; hidden damp areas behind tightly packed racks are difficult to manage. Choose finishes for the actual moisture exposure.
For sites with seasonal water or power interruptions, size the growing capacity around what can be supported reliably. Reserve water and manual responses need their own inspection routine. An extra rack is only useful when the room can still be monitored, cleaned and serviced with that rack occupied.
For arithmetic only, 12 wet bags weighing 3 kg each place 36 kg on a shelf before other loads and design allowances. Three such shelves hold 108 kg of bags. These calculations are not a load rating: a competent fabricator or engineer must verify the installed structure.
Separate six distinct functions: receiving and dry storage; treatment; protected cooling and inoculation; incubation; fruiting; clean packing and dispatch. Recovery and waste handling need a separate route. The spaces may be modest, but the tools, traffic and drainage should make the clean sequence clear. View the room workflow illustration →
| Observation | Investigate | Next action |
|---|---|---|
| Water pools below racks | Blocked drainage, slope and excessive spray. | Stop the source, clear drainage and review the mist pattern. |
| Far corners remain stale | Inlet and outlet placement, rack obstruction and fan direction. | Map conditions and improve distribution without direct drafts on pins. |
| Rust or shelf deformation | Coatings, joints, anchoring and actual loading. | Unload the affected rack and obtain an assessment before reuse. |
| Nozzles repeatedly clog | Water quality, filtration and maintenance access. | Service equipment as instructed and keep a manual backup procedure. |
| Pests enter repeatedly | Screen gaps, doors, drains and waste storage. | Repair entry routes and improve removal and containment. |
| Routine inspection takes too long | Crowding, inaccessible bags and a poor work route. | Change the layout before adding more crop. |
Reviewed 10 October 2026. Follow the instructions for your actual species, strain and equipment. Worked calculations are teaching examples, not measured ICL results.
Further reading on cultivation methods, crop management and farm operations.