Identified spawn
A reliable supplier’s species, strain, lot and handling instructions retained with the delivery.
Healthy spawn, a clean work area and traceable batches are the foundation of a reliable crop.
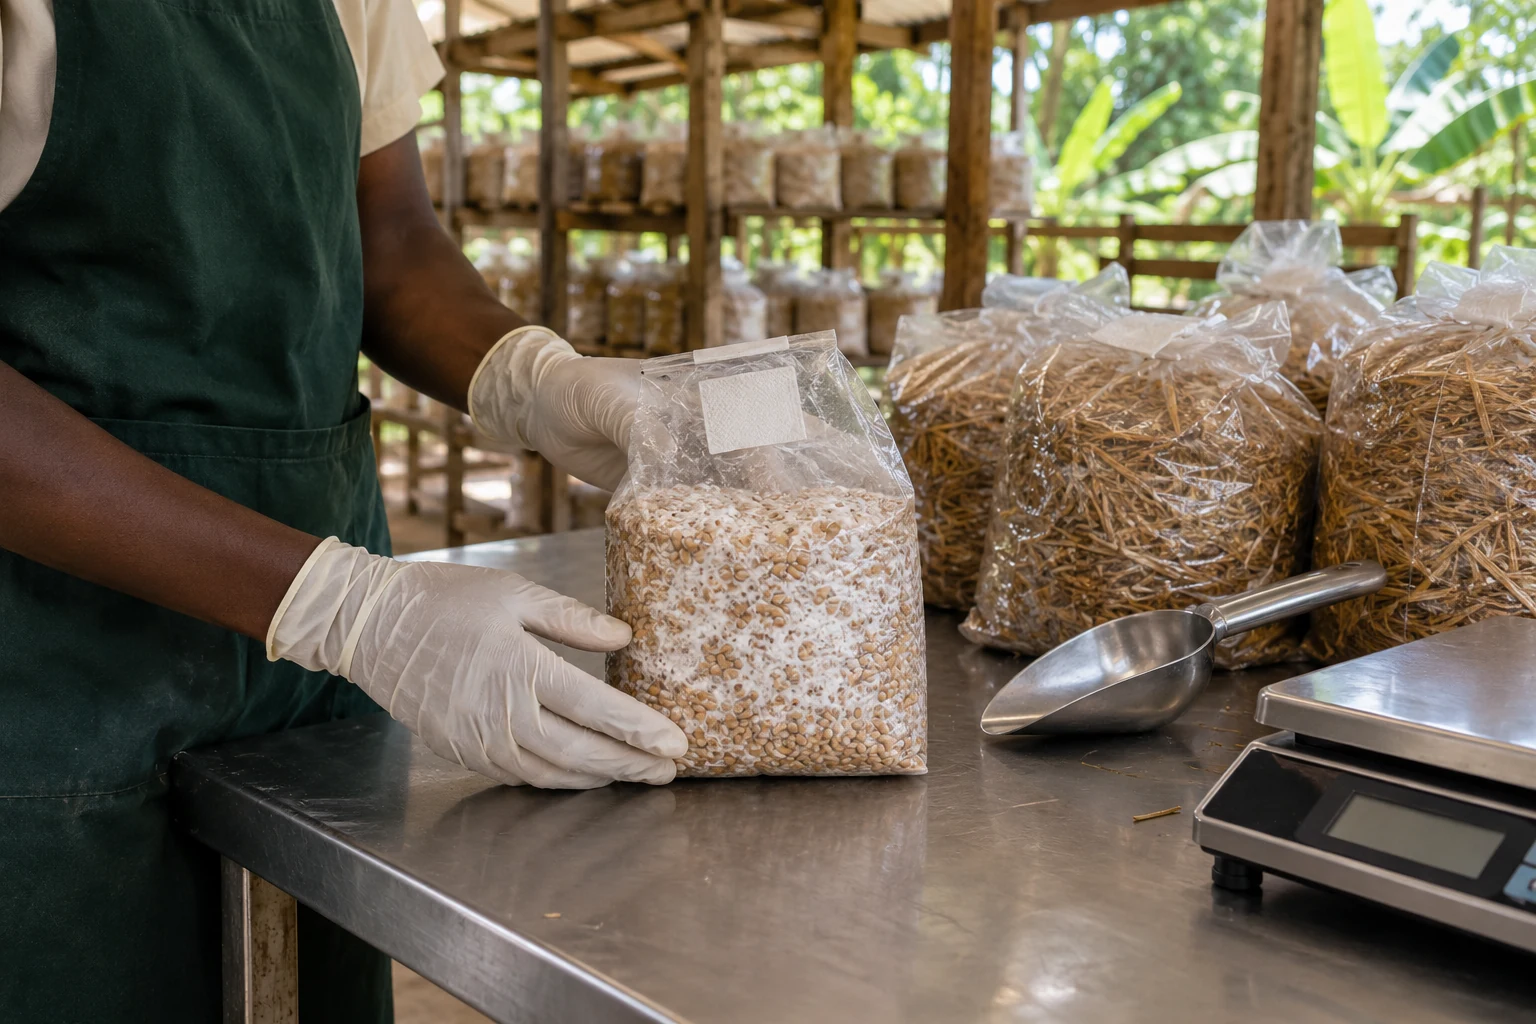
Separate inoculation from raw substrate, waste handling and harvesting. Clean the work surface first, then use an appropriate disinfectant according to its label. Wash hands, wear clean clothing and keep air movement low during open handling. A clean room is not a sterile laboratory.
Isolate suspect bags promptly. Do not open or sniff mouldy bags in the growing area. Record affected bags and positions, then review treatment logs, moisture, spawn lot and handling. Stop repeating a failing process until the cause is understood.
Grain-spawn production requires validated sterilisation, clean culture work and quality control. Buying good spawn is a practical first step while the farm develops reliable fruiting and sales.
A reliable supplier’s species, strain, lot and handling instructions retained with the delivery.
A released treatment batch with documented drainage and core cooling.
A clear, cleanable surface and a defined route for clean tools and closed bags.
Clean scoops and containers with a scale appropriate to the spawn quantity.
Compatible bags, closures and filters ready before any spawn is opened.
Water-resistant labels, a marker and a log that links spawn lot to every batch.
| Control | Record | How to use it |
|---|---|---|
| Receipt | Delivery date, supplier, strain, lot and package condition. | Keep the receiving observation distinct from the later inoculation decision. |
| Storage | Temperature and use period specified for this spawn. | Do not replace strain-specific advice with a general refrigeration assumption. |
| Substrate release | Treatment and cooling records available at the bench. | Separate uncertain material instead of mixing it into a recorded clean batch. |
| Spawn rate | Actual masses and calculation basis. | Write whether the percentage refers to wet or dry substrate mass. |
| Incubation follow-up | Started and rejected counts with rack positions. | A pattern by operator, date, lot or position is more useful than a single total. |
Match treated substrate to the available spawn, closures and labels. Prepare the batch log before opening anything. Arrange the bench in work order so hands and tools do not repeatedly cross between untreated supplies and exposed substrate. Keep unrelated items away from the work surface.
Remove visible soil before disinfecting surfaces according to the product label. Wash hands and use clean clothing and gloves. Gloves become contaminated too; replace or clean them appropriately after touching phones, doors, waste or dirty equipment. Do not spray disinfectant into open spawn or substrate.
Review treatment, drainage and core-cooling records. Do not judge the whole load from a cool bag surface. Hold material with an incomplete process record or unexplained handling incident separately. A clean-looking bag cannot repair an unverified treatment, and inoculation will not correct excessive heat.
Use the supplier’s rate and its stated wet- or dry-weight basis. Keep the weighing container and tools clean. Record actual substrate and spawn masses rather than estimating by handfuls. If the basis is unclear, resolve it with the supplier before applying a percentage.
Follow the chosen bag system’s distribution method and minimise open exposure. Avoid touching closure interiors and filter surfaces. Close each bag with the intended breathable system. Do not replace it with an improvised airtight seal or mix several unidentified spawn lots into the same batch.
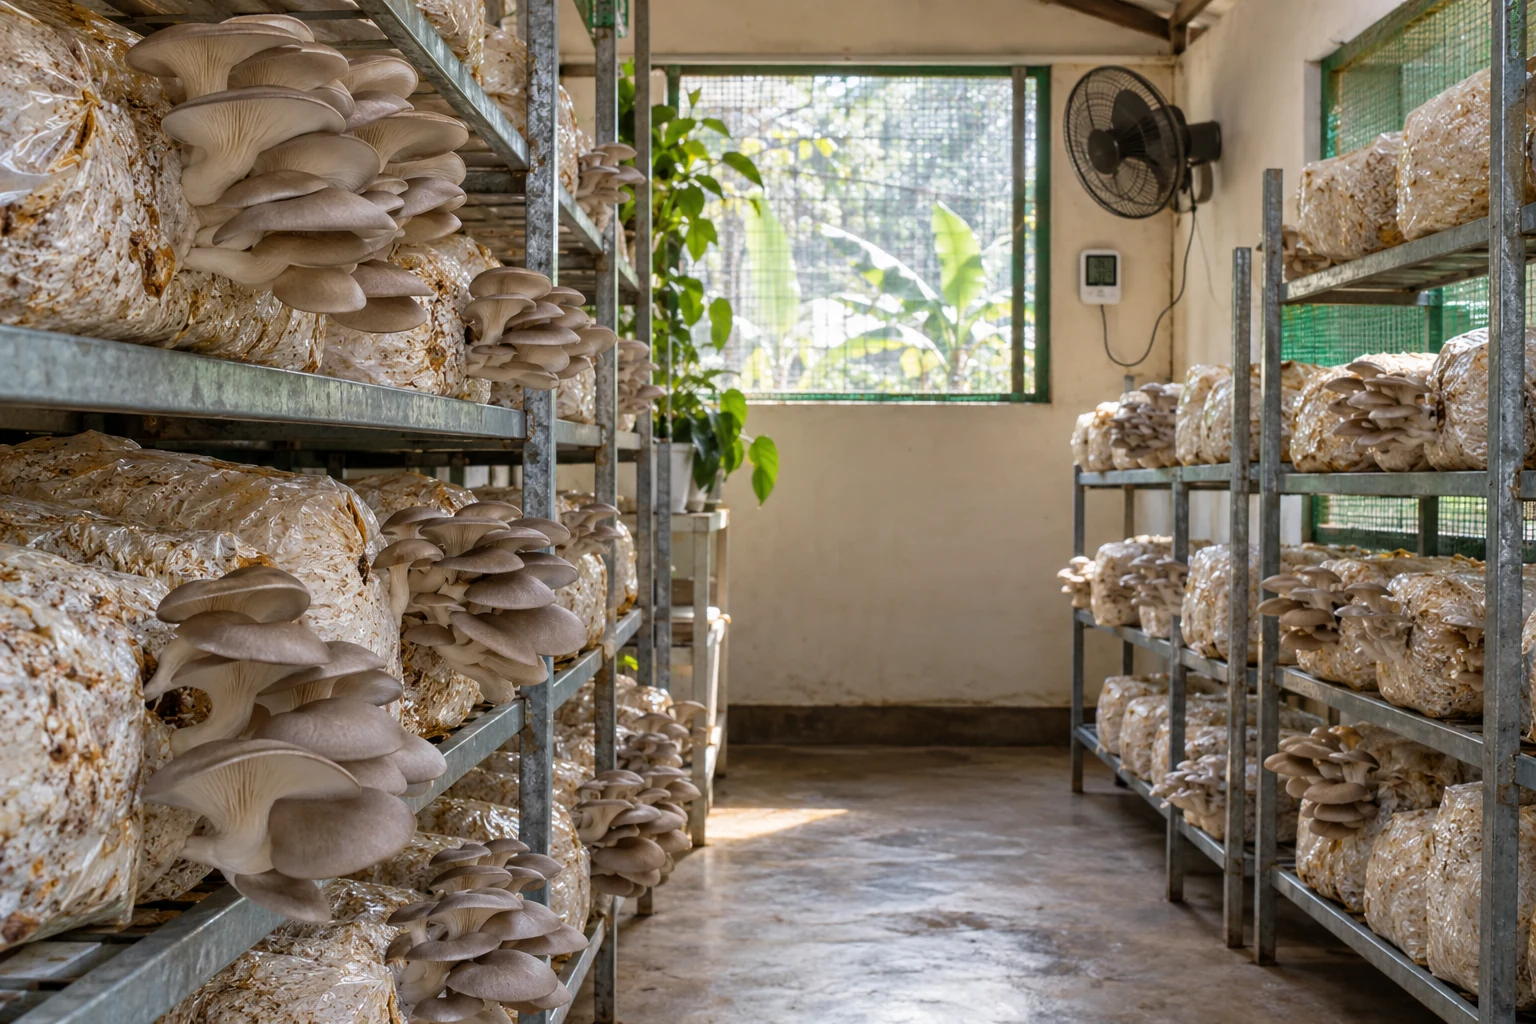
Record the batch ID, recipe, date, spawn lot, operator and deviations. Place bags in identified rack positions with inspection access and space for heat release. Clean down the work area and record the number started. Review patterns by lot, position and work session if problems appear.
If spawn arrives after a delay or during very hot weather, retain the transport details and check with the supplier before using the entire delivery. Test a small separately labelled batch where appropriate. Avoid turning a receiving uncertainty into an untraceable production-wide problem.
If the clean work area is busy with harvest or maintenance, reschedule the inoculation session until the intended separation can be restored. Set out all labels and closures first. A rushed session with repeated movement through dirty areas is difficult to assess later, even when the crop initially looks normal.
An arithmetic example: if a supplier specifies 4% against wet substrate mass, 20 kg of wet substrate needs 20 × 0.04 = 0.8 kg spawn. If the instruction instead uses dry substrate mass, the calculation must use the recorded dry mass. The 4% figure here is only a teaching example, not a prescribed rate.
A receiving record should identify species, strain, supplier, lot, production or use-by information, receipt date, packaging condition and storage instructions. Do not assume all oyster strains tolerate refrigeration: storage is strain-specific. Keep suspect deliveries separate and contact the producer with the lot details and observations.
| Observation | Investigate | Next action |
|---|---|---|
| The delivery has no reliable identity | Missing or contradictory strain and lot information. | Hold it separately and resolve identification with the supplier. |
| Unexpected coloured growth or wetness | Possible contamination or damaged packaging. | Isolate without opening indoors; do not diagnose safety from a picture. |
| One spawn lot performs poorly | Transport, storage, age and lot history. | Compare a small reference batch and contact the supplier with records. |
| Problems follow one rack position | Local heat, moisture, draft or handling. | Map affected bags and compare environmental readings. |
| Problems follow one work session | Cooling, bench hygiene, closure handling and process interruptions. | Review that session before repeating its sequence. |
| Growth is slower than expected | Strain, temperature, moisture, packing and spawn distribution. | Check shared conditions; days alone do not establish failure. |
Reviewed 10 October 2026. Follow the instructions for your actual species, strain and equipment. Worked calculations are teaching examples, not measured ICL results.
Further reading on cultivation methods, crop management and farm operations.